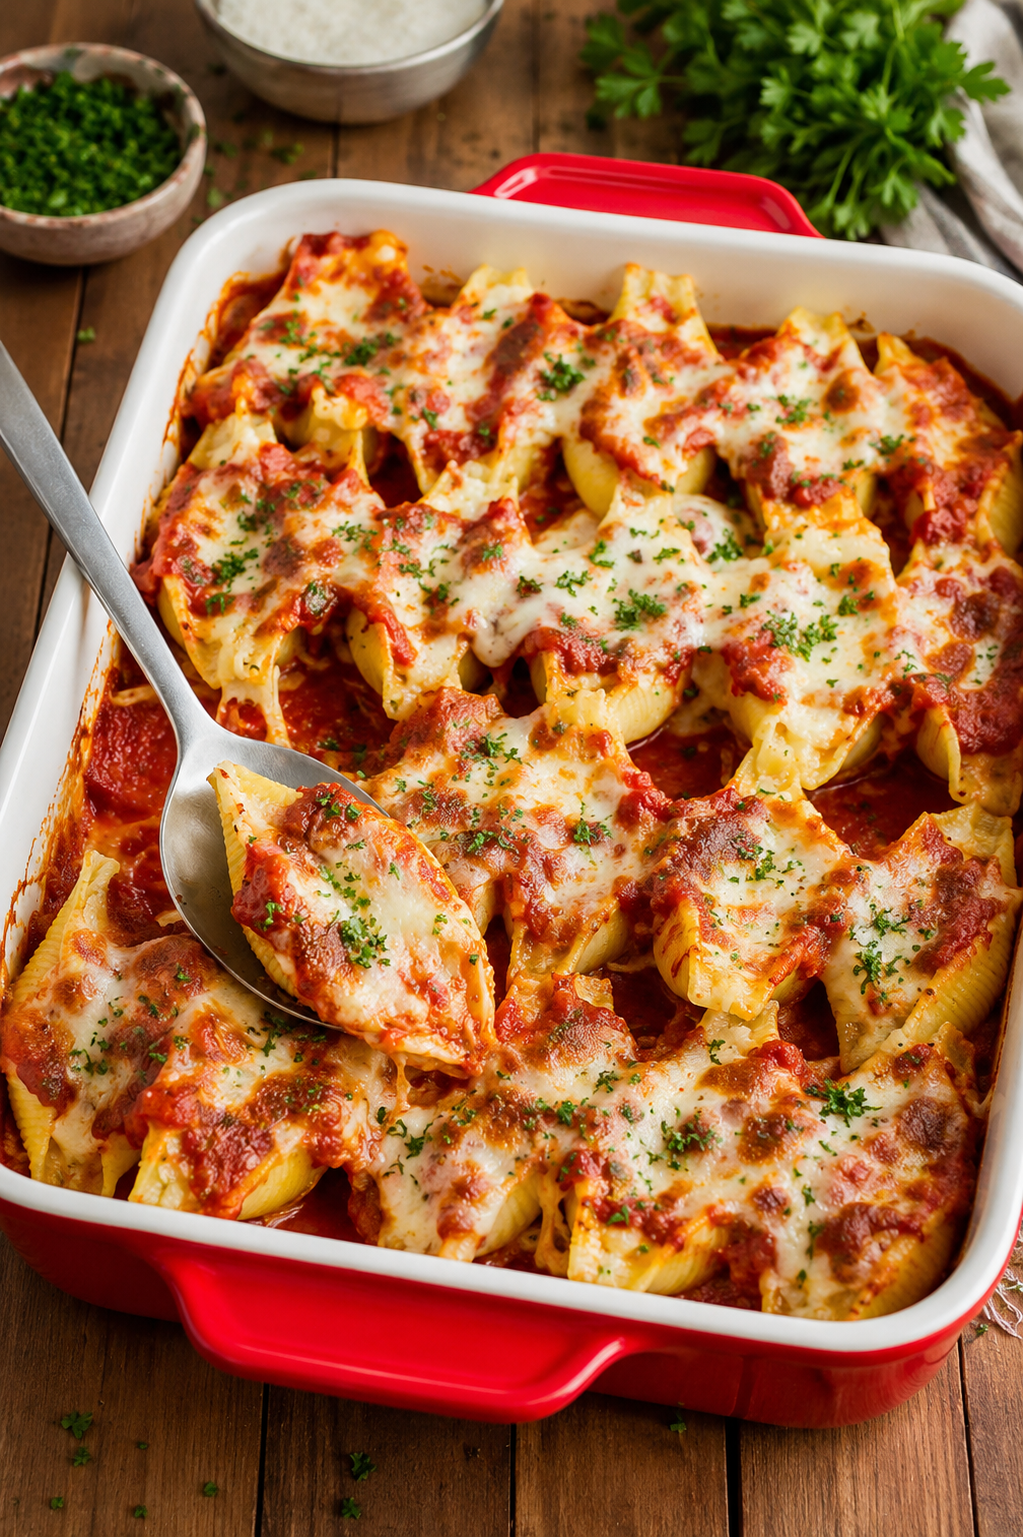
Classic Stuffed Shells That Feed a Crowd
There’s a particular kind of dinner that works for everyone at the table regardless of age or mood, and stuffed shells might be the best example of it I know. My kids will eat these without a single negotiation, which in my house counts as a minor miracle, and the leftovers somehow taste even better the next day.
This is the kind of dish that looks like it took real effort — elegant, cheesy, golden on top — while actually being one of the more forgiving pasta bakes you can make. It’s a genuine crowd-pleaser, whether that crowd is picky kids or dinner guests.
Why You’ll Love This
It’s built from a short list of ingredients you likely already keep on hand, and it can be assembled hours ahead of time, which makes it a real lifesaver on busy nights or when you’re hosting. Three cheeses, ricotta, mozzarella, and parmesan, give it a richness that plain baked pasta just doesn’t have.
Why This Works
Undercooking the shells by a minute or two before filling them matters more than it seems — they’ll keep cooking in the oven, so shells boiled to full al dente will turn mushy and prone to tearing by the time they come out. Grating your own cheese rather than using the pre-shredded bags also makes a real difference, since store-bought shredded cheese is coated in anti-caking agents that keep it from melting as smoothly into the filling.
How to Make Classic Stuffed Shells
Step 1: Boil the Shells
Cook the jumbo pasta shells according to the package directions, but pull them about 1 to 2 minutes before they’d normally be done. You want them firmer than al dente, since they’ll finish cooking in the oven and you don’t want them falling apart when you fill them.
Step 2: Mix the Filling
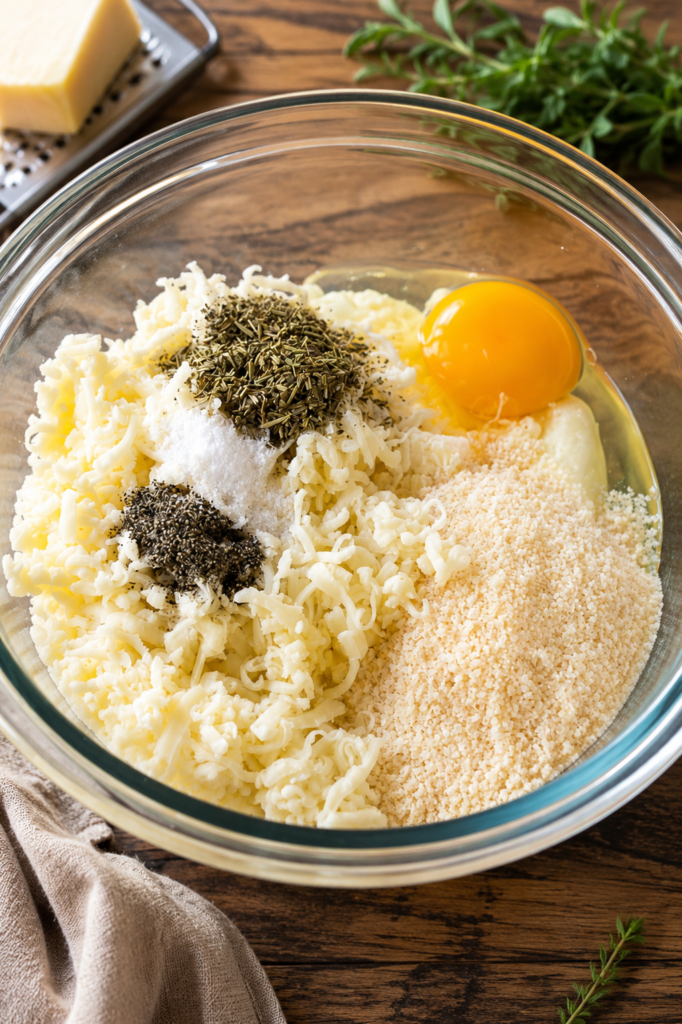
In a large bowl, combine the ricotta cheese, half the mozzarella, Italian seasoning, egg, parmesan, salt, and pepper. Stir until it’s smooth and evenly mixed — this is the filling that’s going to make or break the dish, so give it a good stir until everything’s fully incorporated.
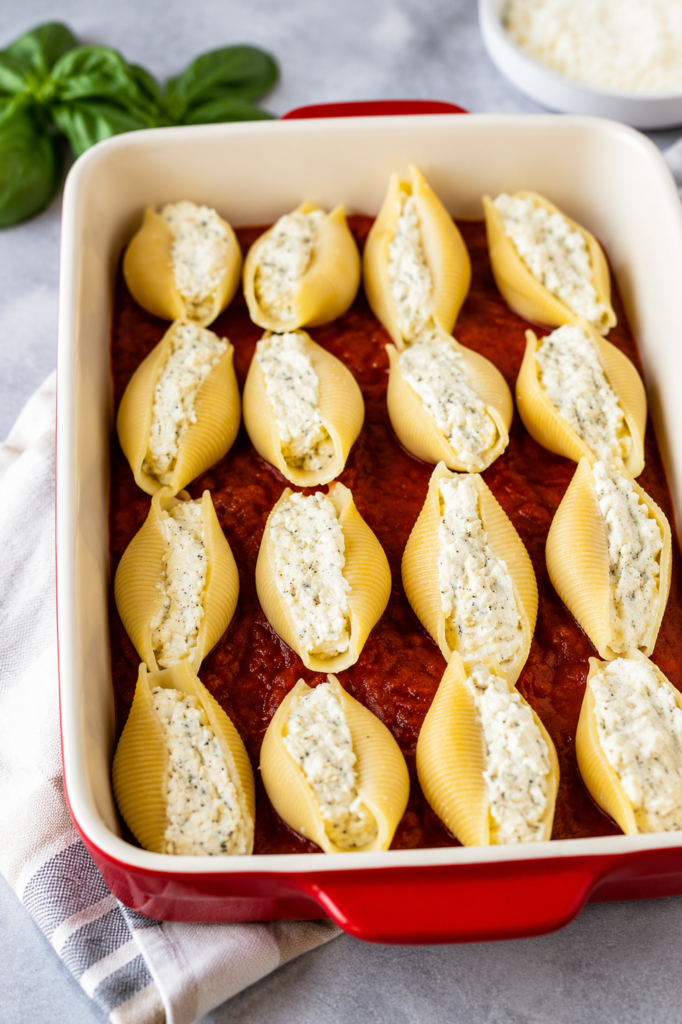
Step 3: Fill and Arrange
Spread a layer of marinara sauce in the bottom of a greased 9×13-inch baking dish. Fill each shell generously with the ricotta mixture using a spoon or piping bag, and arrange them seam-side up in the dish over the sauce.
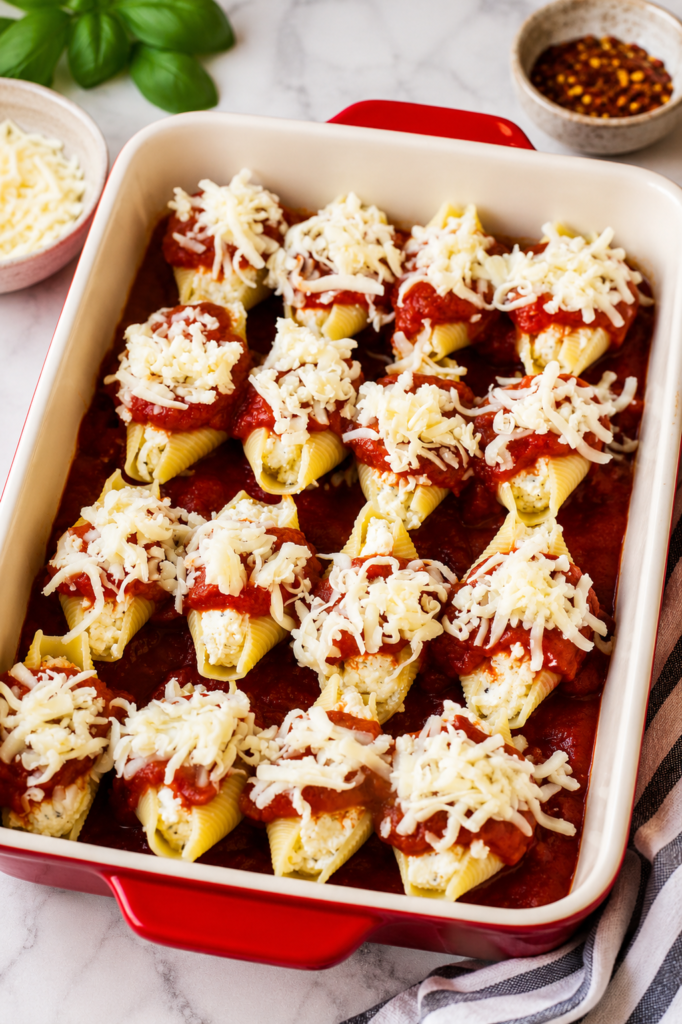
Step 4: Sauce and Bake
Spoon the remaining marinara sauce over the shells, then sprinkle the rest of the mozzarella on top. Cover the dish with foil and bake at 375°F for 20 minutes, then remove the foil and bake for another 10 minutes, until the cheese is melted and just starting to brown at the edges.
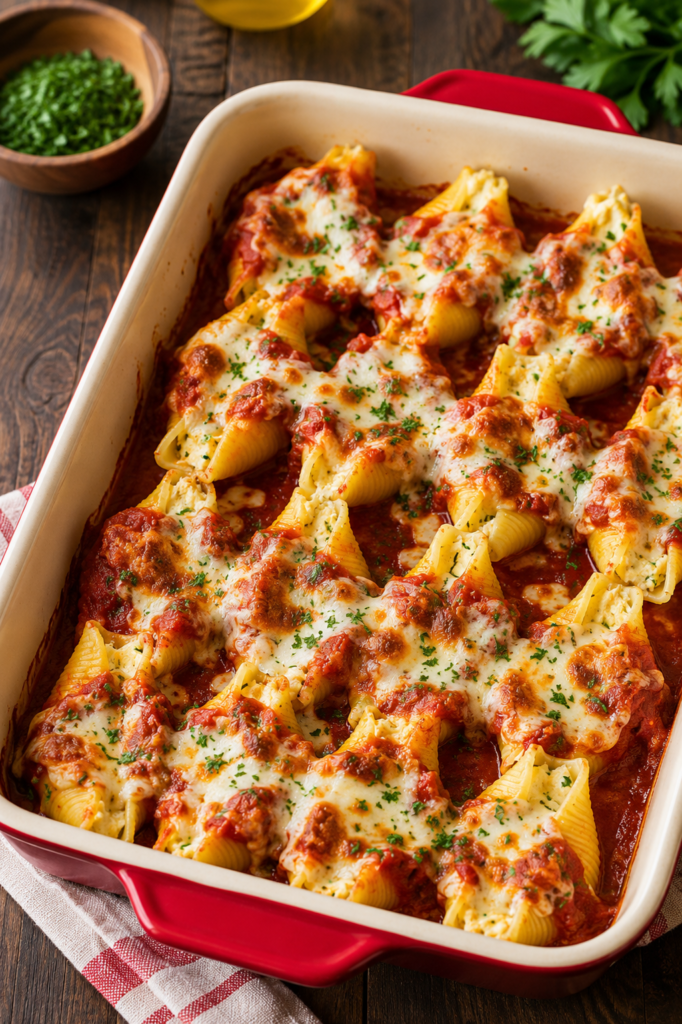
Step 5: Finish and Serve
Sprinkle fresh parsley over the top before serving. Let the dish rest a couple of minutes so the sauce settles before you dig in.
Tips for the Best Results
- Undercook your shells by 1-2 minutes so they hold together better once filled and baked.
- Grate your own mozzarella and parmesan rather than using pre-shredded bags for a smoother melt.
- Use whole milk ricotta and mozzarella for the richest filling, or part-skim if you want to lighten it up slightly.
- Assemble the whole dish up to 8 hours ahead and refrigerate, adding about 10 extra minutes to the bake time since it’ll start cold.
- Choose a high-quality jarred marinara if you’re not making your own — it makes a noticeable difference in the final flavor.
Variations to Try
Stir in 8 ounces of cooked, crumbled Italian sausage, ground beef, or shredded chicken for a heartier filling. Finely chopped, cooked spinach, mushrooms, or zucchini can be folded into the ricotta mixture for extra vegetables. Swap the marinara for a creamy Alfredo sauce or a hearty bolognese if you want a different flavor direction, and feel free to add minced garlic to the filling for extra punch.
What to Serve With Them
Garlic knots or a simple Italian salad round this out into a full meal. Prosciutto-wrapped asparagus makes a nice, slightly more elegant side if you’re serving guests.
Storage and Reheating
Stuffed shells keep well in the fridge for up to 4 days, covered with foil in the baking dish or transferred to an airtight container. They also freeze beautifully for up to 3 months — bake straight from frozen, adding about 30 minutes to the cook time. Reheat already-baked leftovers in the microwave in 90-second bursts until warmed through.
FAQ
Can I freeze stuffed shells?
Yes, they freeze well for up to 3 months. Bake straight from frozen and add about 30 extra minutes to the cooking time.
How long do these keep in the fridge?
Up to 4 days, whether covered in the baking pan or transferred to an airtight container.
What temperature should I bake these at?
375°F is the sweet spot for these shells, giving the cheese time to melt and brown without drying out the pasta.
Can I assemble this ahead of time?
Yes, up to 8 hours ahead. Cover and refrigerate, then add roughly 10 extra minutes to the bake time since you’re starting from cold.
Can I add spinach to the filling?
Yes, chopped and lightly cooked spinach folds in beautifully alongside the ricotta mixture.
Classic Stuffed Shells
Course: Main CourseCuisine: ItalianDifficulty: Easy6
servings25
minutes30
minutes55
minutes488
kcalJumbo pasta shells stuffed with ricotta, mozzarella, and parmesan, baked in marinara sauce until golden.
Ingredients
24 jumbo pasta shells, cooked according to package directions
15 ounces ricotta cheese
3 cups shredded mozzarella cheese, divided
2 teaspoons Italian seasoning
Salt and pepper, to taste
1 egg
1/2 cup grated parmesan cheese
3 cups marinara sauce, divided
2 tablespoons parsley, chopped
Cooking spray
Directions
- Preheat oven to 375u00b0F and coat a 9×13-inch baking pan with cooking spray.
- Spread 1 1/2 cups of marinara sauce in the bottom of the pan.
- Combine ricotta, 1 1/2 cups mozzarella, Italian seasoning, egg, salt, pepper, and parmesan in a bowl.
- Fill each shell with the ricotta mixture and place in the baking dish.
- Spoon remaining marinara over the shells and top with remaining mozzarella.
- Cover with foil and bake 20 minutes. Uncover and bake an additional 10 minutes until browned and bubbly.
- Sprinkle with parsley and serve.
Notes
- Undercook the shells by 1-2 minutes before filling, since they’ll continue to cook in the oven.