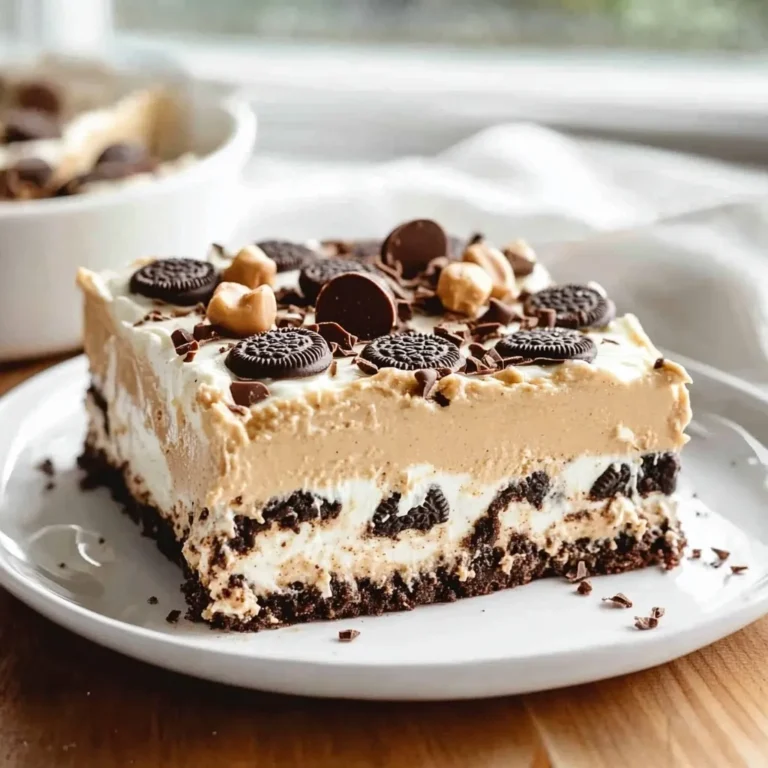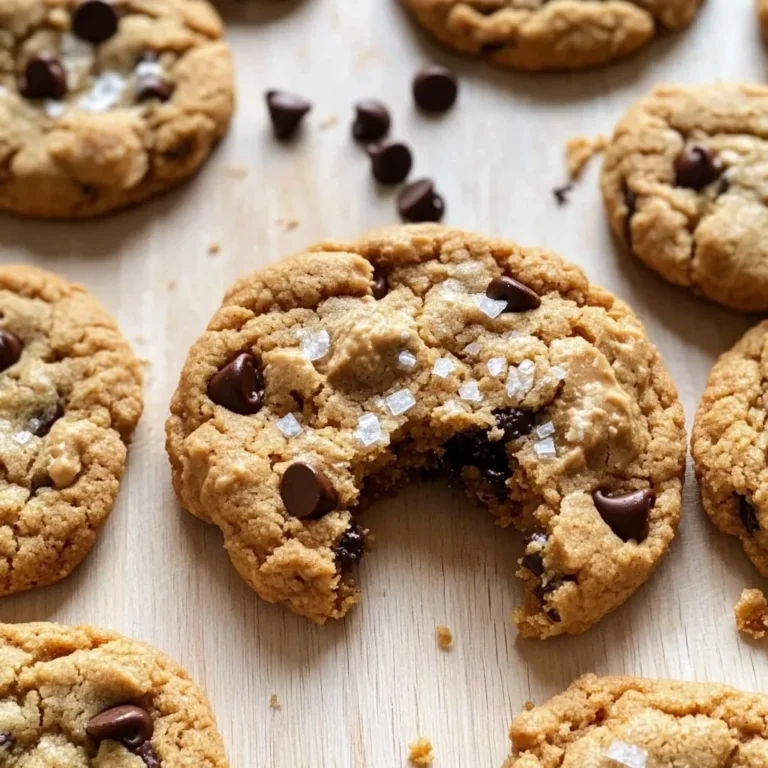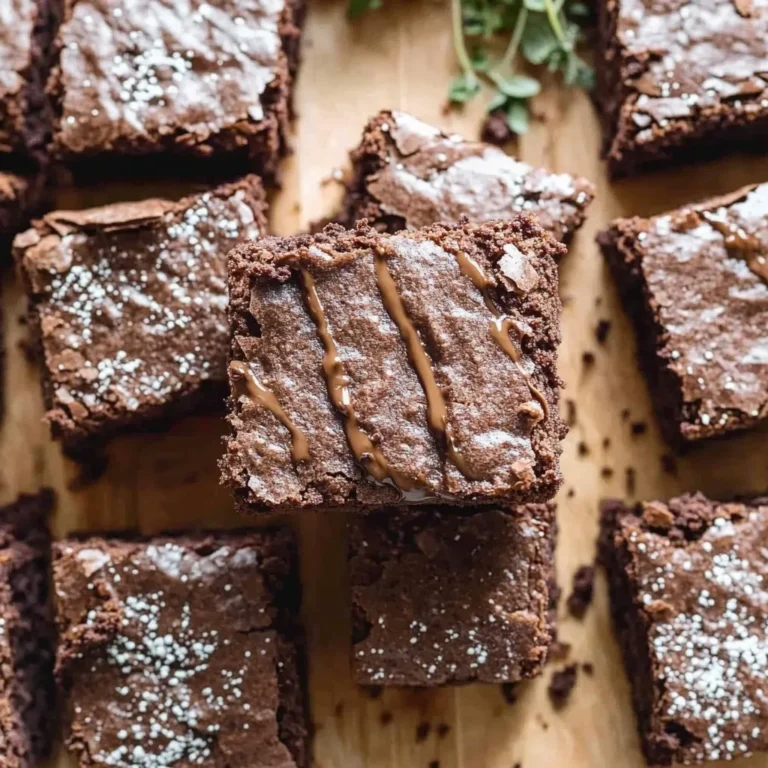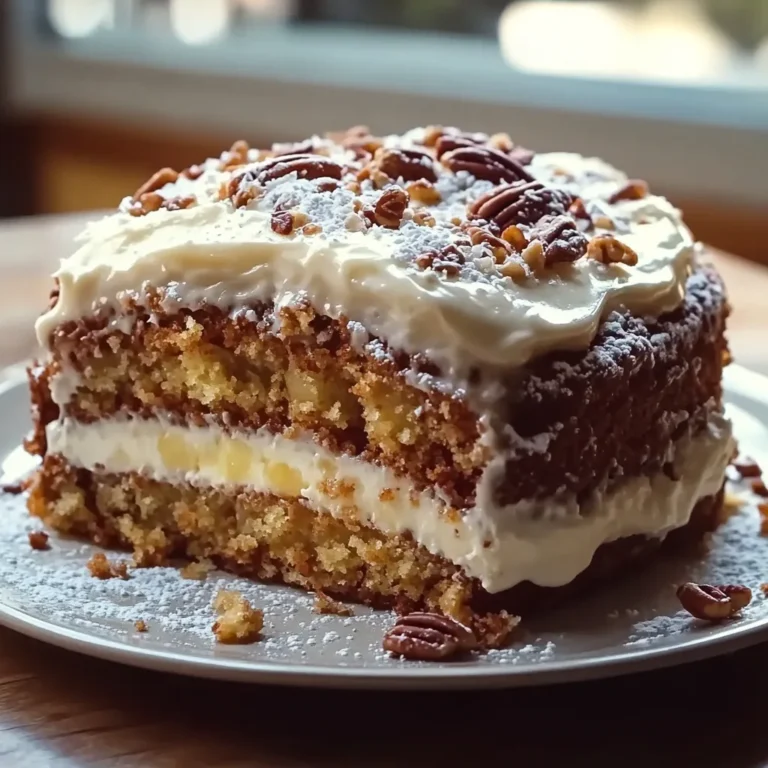
Butterfinger Cheesecake
This is my go-to butterfinger cheesecake recipe, and it never lets me down.
Butterfinger bars have that specific crunchy, peanut-buttery flake that doesn’t really exist anywhere else in candy. Folding crushed pieces into a classic baked cheesecake turned out to be one of those combinations that feels obvious in hindsight but genuinely surprised me the first time.
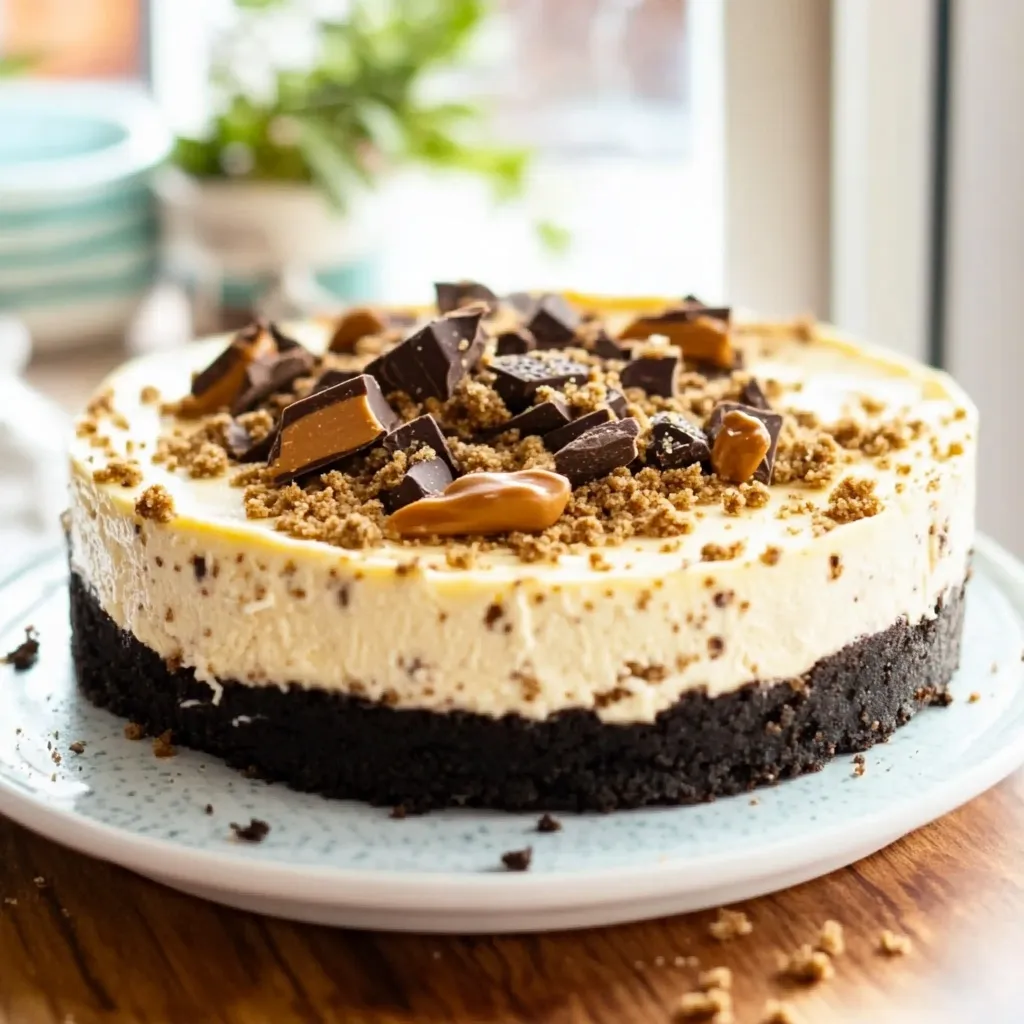
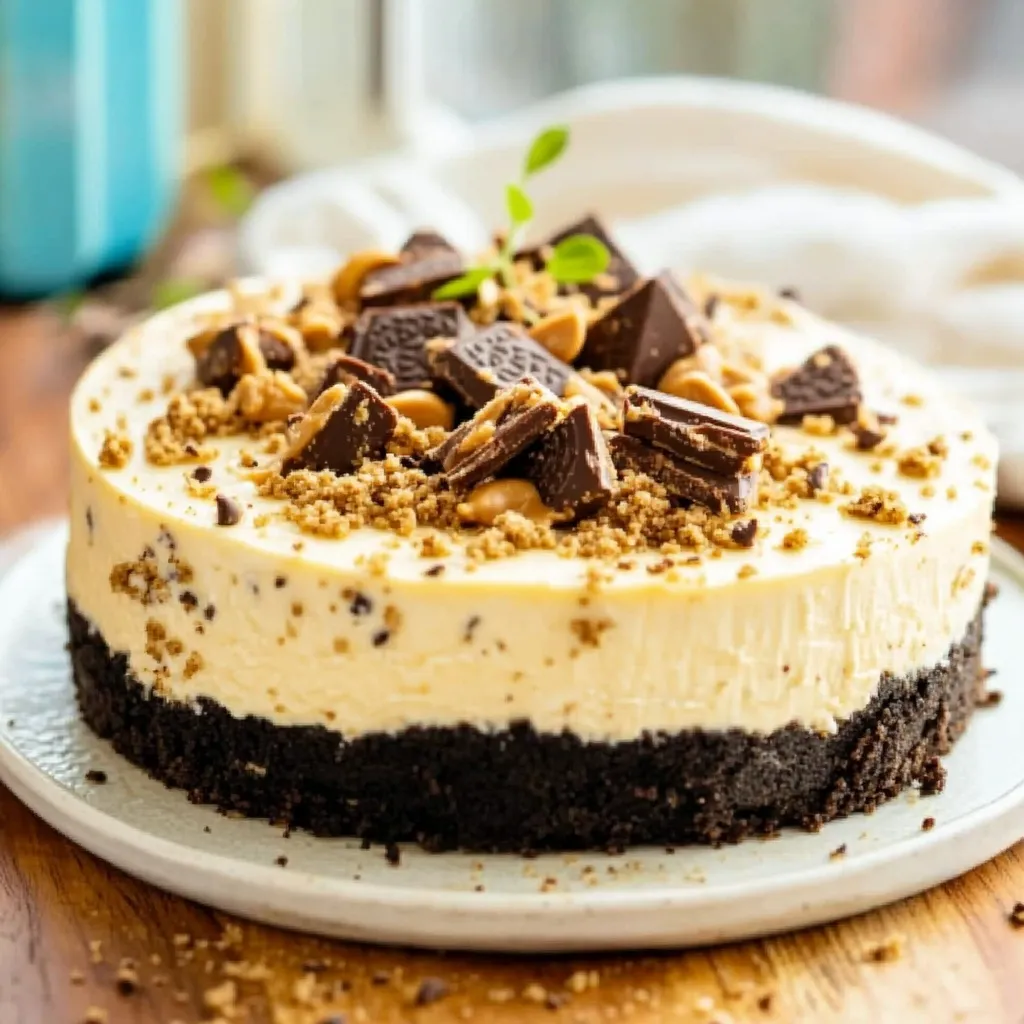
This is a full water-bath cheesecake, rich and dense in the way a real one should be, over a chocolate cookie crust that echoes the candy bar’s coating. It takes some patience, but very little of it is active work.
Why You’ll Love This Recipe
A few reasons this earns a spot at your next gathering.
Genuine bakery-style texture: dense, rich, and creamy throughout.
Candy bar flavor baked right in: not just a garnish on top.
Make-ahead friendly: genuinely needs a night in the fridge anyway.
Crowd-pleasing: disappears fast at parties.
Why This Works
Baking the cheesecake in a water bath is the step people are most tempted to skip, and it’s the one that prevents the top from cracking. The steam from the water bath keeps the oven’s heat gentle and even, so the edges don’t overbake and pull away from the center while the middle is still setting.
Step-by-Step
Combine the crushed chocolate cookies and melted butter, then press firmly into the bottom of a springform pan. Bake at 325 degrees for 10 minutes, then set aside to cool while you make the filling.
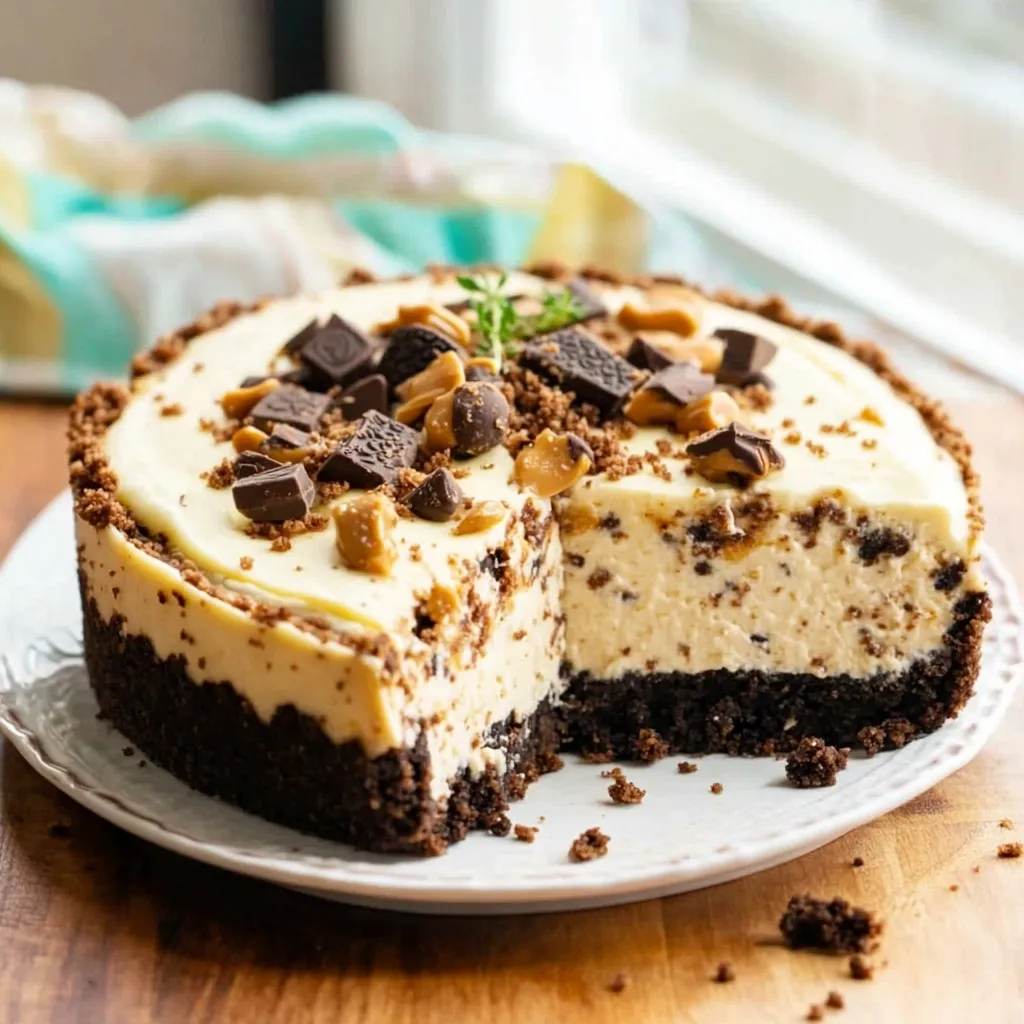
Beat the softened cream cheese and sugar together until completely smooth, scraping down the bowl as needed. Add the eggs one at a time, mixing on low speed just until incorporated, overmixing here introduces air bubbles that cause cracking.
Fold in the sour cream, vanilla, and most of the crushed Butterfinger pieces, reserving some for topping. Pour the filling over the cooled crust.
Wrap the outside of the springform pan tightly in foil and place it in a larger roasting pan. Fill the roasting pan with hot water halfway up the sides of the springform pan, this is the water bath that keeps the cheesecake from cracking.
Bake at 325 degrees for 55 to 65 minutes, until the edges are set but the center still has a slight jiggle. Turn off the oven and let the cheesecake sit inside with the door cracked for an hour, then chill in the fridge overnight before releasing and topping with the reserved Butterfinger pieces.
Tips
- Don’t skip the water bath, it’s what prevents the top from cracking.
- Mix the eggs in on low speed, overmixing introduces air that causes cracks.
- Let the cheesecake cool gradually in the oven before chilling, sudden temperature changes cause cracking too.
- Chill overnight, cheesecake needs the full rest to set properly.
- Use room-temperature cream cheese, cold cream cheese doesn’t blend smoothly.
Variations
- Swap Butterfinger for another crunchy candy bar of your choice.
- Add a layer of caramel sauce between the crust and filling.
- Drizzle with melted chocolate before serving.
- Use a graham cracker crust instead of chocolate cookies for a lighter base.
What to Serve With
- A drizzle of caramel or chocolate sauce.
- Whipped cream on top.
- Extra crushed candy bar for garnish.
- A hot cup of coffee.
Storage
Refrigerator: store covered for up to 5 days.
Freezer: freeze whole or in slices, wrapped tightly, for up to 2 months.
Reheating: this is meant to be served cold, no reheating necessary, thaw frozen slices overnight in the fridge.
Make Ahead
This cheesecake needs an overnight chill anyway, so it’s genuinely a make-ahead dessert by design, plan to bake it a day before you need it.
Frequently Asked Questions
Why did my cheesecake crack?
Usually overmixing the eggs or skipping the water bath, both introduce the temperature swings and air bubbles that cause cracking.
Can I make this without a springform pan?
A springform pan is strongly recommended, it’s the easiest way to release a delicate cheesecake without damaging it.
How far ahead can I make this?
Up to 3 days ahead, covered tightly in the fridge, cheesecake holds up beautifully for several days.
Final Thoughts
This cheesecake takes some patience, but the payoff is worth every minute of the wait. Give it a try for your next gathering, and expect it to go fast.
Butterfinger Cheesecake
Course: DessertCuisine: AmericanDifficulty: Medium12
slices30
minutes1
hour90
minutes460
kcalA rich, creamy baked cheesecake studded with crushed Butterfinger bars over a chocolate cookie crust.
Ingredients
2 cups chocolate cookie crumbs
6 tablespoons melted butter
32 oz cream cheese, softened
1.25 cups sugar
4 large eggs
1 cup sour cream
2 teaspoons vanilla extract
1.5 cups crushed Butterfinger bars, divided
Directions
- Preheat oven to 325 degrees. Press cookie crumbs and melted butter into a springform pan and bake 10 minutes.
- Beat cream cheese and sugar until smooth. Add eggs one at a time on low speed.
- Fold in sour cream, vanilla, and most of the crushed candy, reserving some for topping.
- Pour filling over the cooled crust.
- Wrap the pan in foil and place in a water bath. Bake 55-65 minutes until edges are set with a slight center jiggle.
- Cool in the oven with the door cracked for an hour, then chill overnight.
- Top with reserved Butterfinger pieces before serving.
Notes
- Do not skip the water bath, it is essential for preventing the top from cracking.